
Sign up now and get your first Month for only $100
Fill out the form to schedule
a free intro
Services We Provide

Crossfit
CrossFit is a generalized strength and conditioning program that can be geared to anyone regardless of fitness, skill level or experience. Beginners will take a beginners class prior to starting classes.

Youth Weightlifting
The focus for this club is to teach discipline, leadership, athleticism, skill and more. Ages are 7-13.

Barbell
Team Soul Barbell is South Florida’s premier club. Catering to both Olympic Weightlifters and Powerlifters. We work with beginners and competitive athletes.

Personal Training
For those looking to fast-track your results, there are no shortcuts, but we can help! Schedule a one-on-one session or organize personal training for you and a couple of friends.

Team Soul Training
Team Soul Training offers daily competitive programming for athletes who are serious about competing in the Sport of CrossFit.

Nutrition
Dial-in your fitness by way of wholesome, fuel-focused nutrition. We’ve created a fine-tuned nutrition program.

Team Soul Bodybuilding
Team Soul Bodybuilding is a true bodybuilding program that will help you build muscle while getting stronger. This program consists of elements from bodybuilding and strength training, programmed by experienced coaches utilizing designs and methods to promote hypertrophy helping you gain muscle, get bigger and feel better.

Team Soul Burn
Want to look good naked? This class features interval style strength and endurance training that will have you working up a sweat! Programmed to increase your metabolism and increase your endurance while maintaining high quality safe movement in mind, you can expect a high intensity, low impact class that will keep you moving the entire time.
Services We Provide
Crossfit
CrossFit is a generalized strength and conditioning program that can be geared to anyone regardless of fitness, skill level or experience. Beginners will take a beginners class prior to starting classes.
Youth Weightlifting
The focus for this club is to teach discipline, leadership, athleticism, skill and more. Ages are 7-13.
Barbell
Team Soul Barbell is South Florida’s premier club. Catering to both Olympic Weightlifters and Powerlifters. We work with beginners and competitive athletes.
Personal Training
For those looking to fast-track your results, there are no shortcuts, but we can help! Schedule a one-on-one session or organize personal training for you and a couple of friends.
Team Soul Training
Team Soul Training offers daily competitive programming for athletes who are serious about competing in the Sport of CrossFit.
Nutrition
Dial-in your fitness by way of wholesome, fuel-focused nutrition. We’ve created a fine-tuned nutrition program.
Team Soul Bodybuilding
Team Soul Bodybuilding is a true bodybuilding program that will help you build muscle while getting stronger. This program consists of elements from bodybuilding and strength training, programmed by experienced coaches utilizing designs and methods to promote hypertrophy helping you gain muscle, get bigger and feel better.
Team Soul Burn
Want to look good naked? This class features interval style strength and endurance training that will have you working up a sweat! Programmed to increase your metabolism and increase your endurance while maintaining high quality safe movement in mind, you can expect a high intensity, low impact class that will keep you moving the entire time.
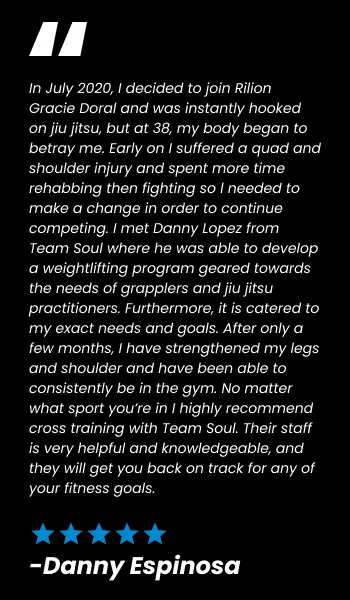
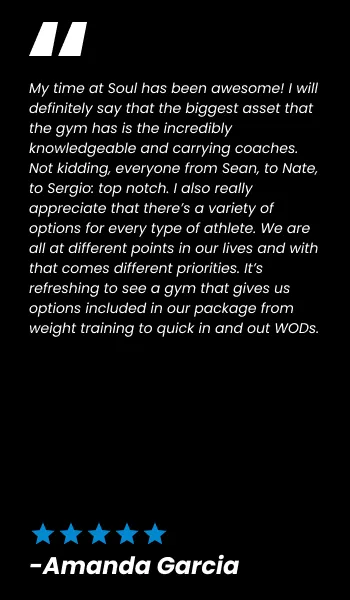
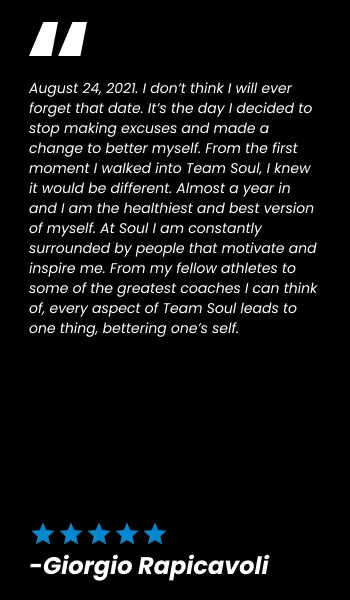
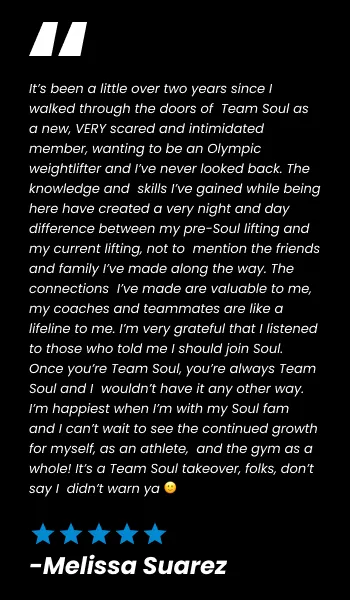
What do people say about us?
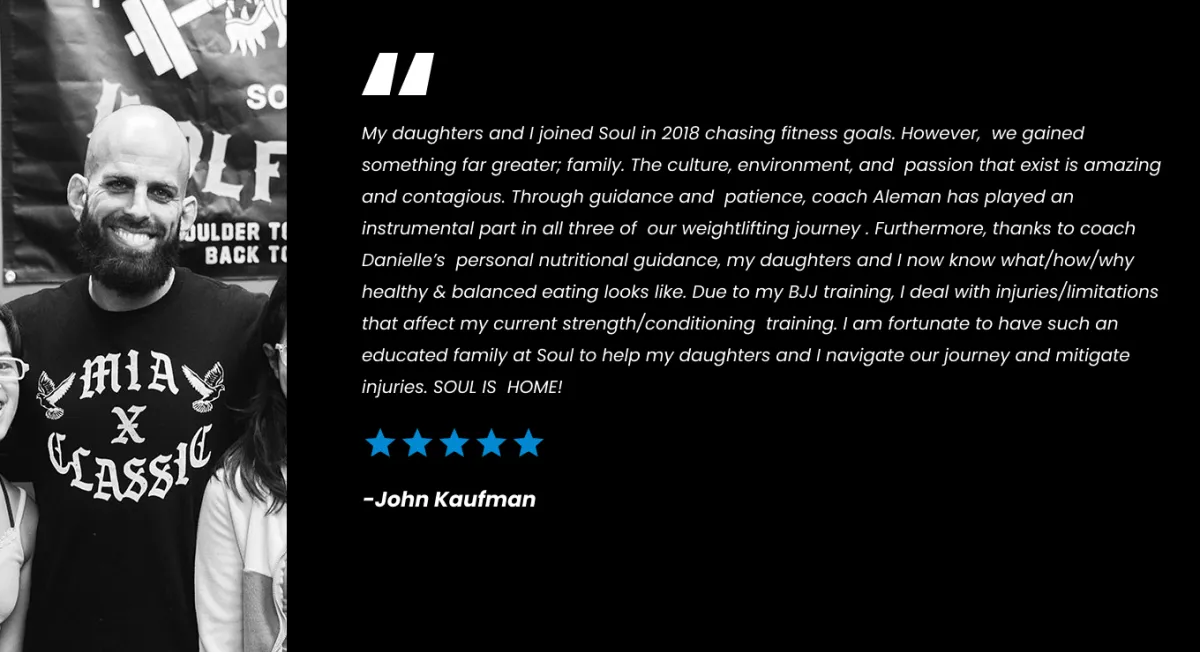
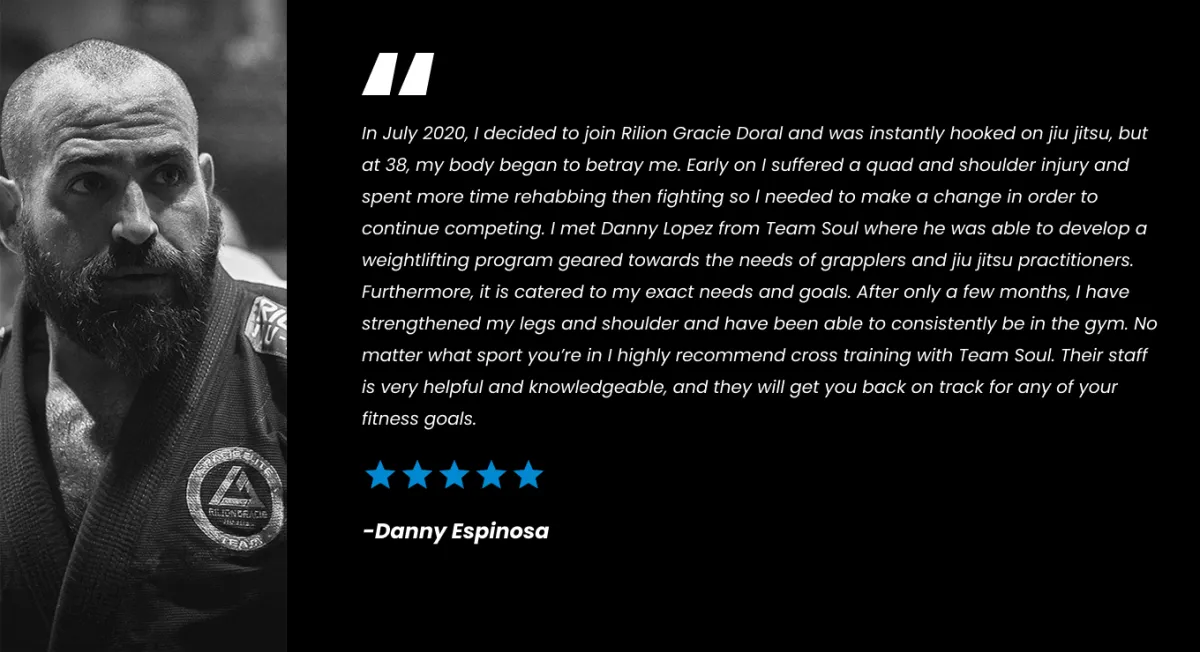
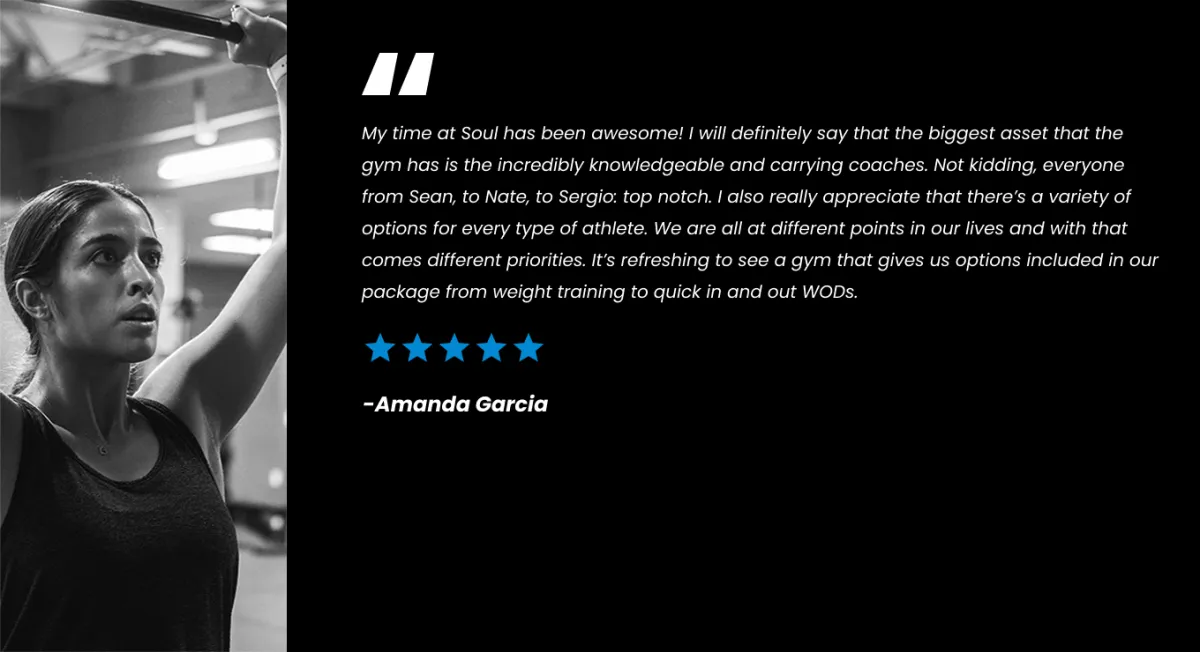
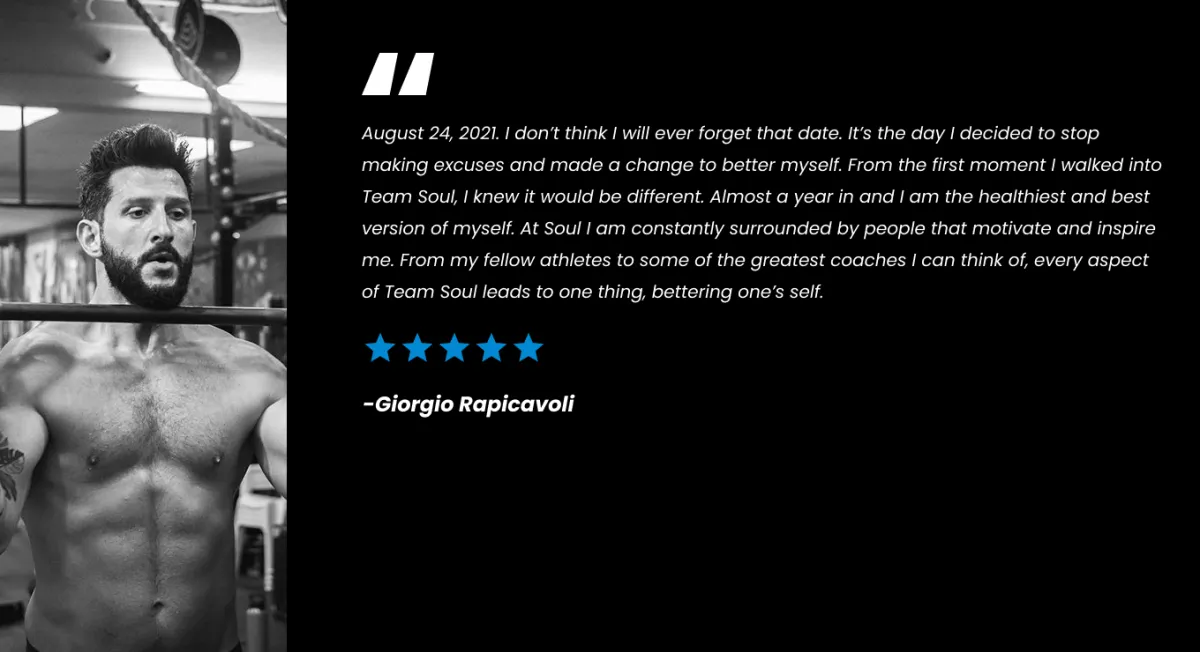
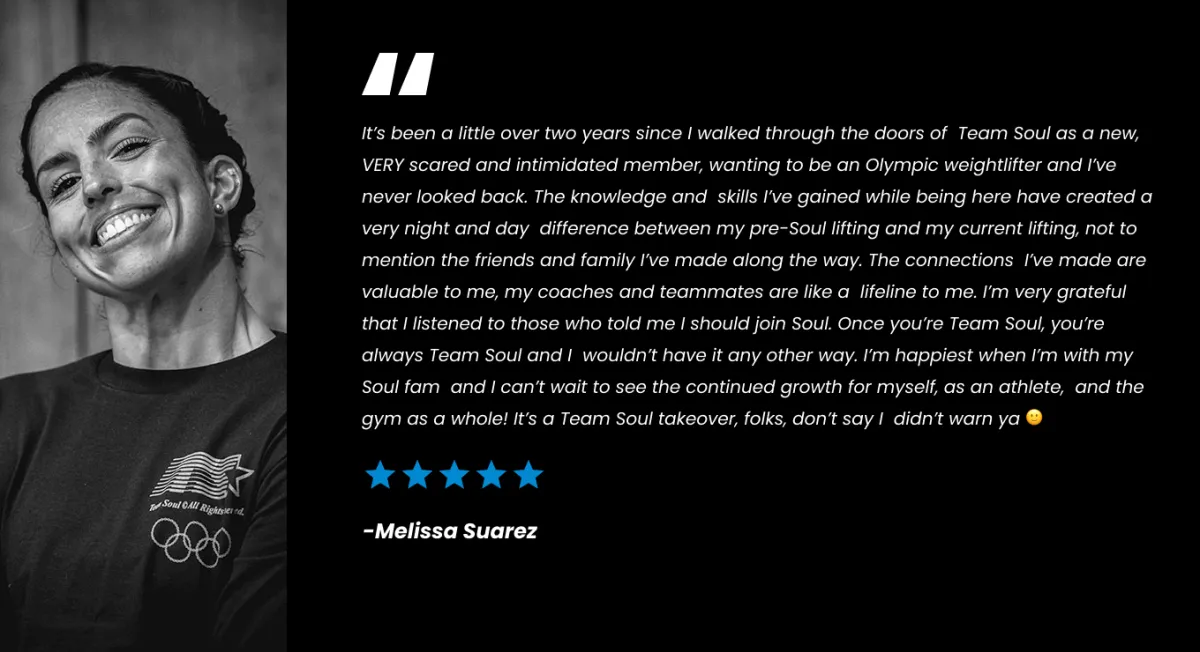
What do people say about us?

Sign Up For Your
free intro

Designed and developed
by zen planner